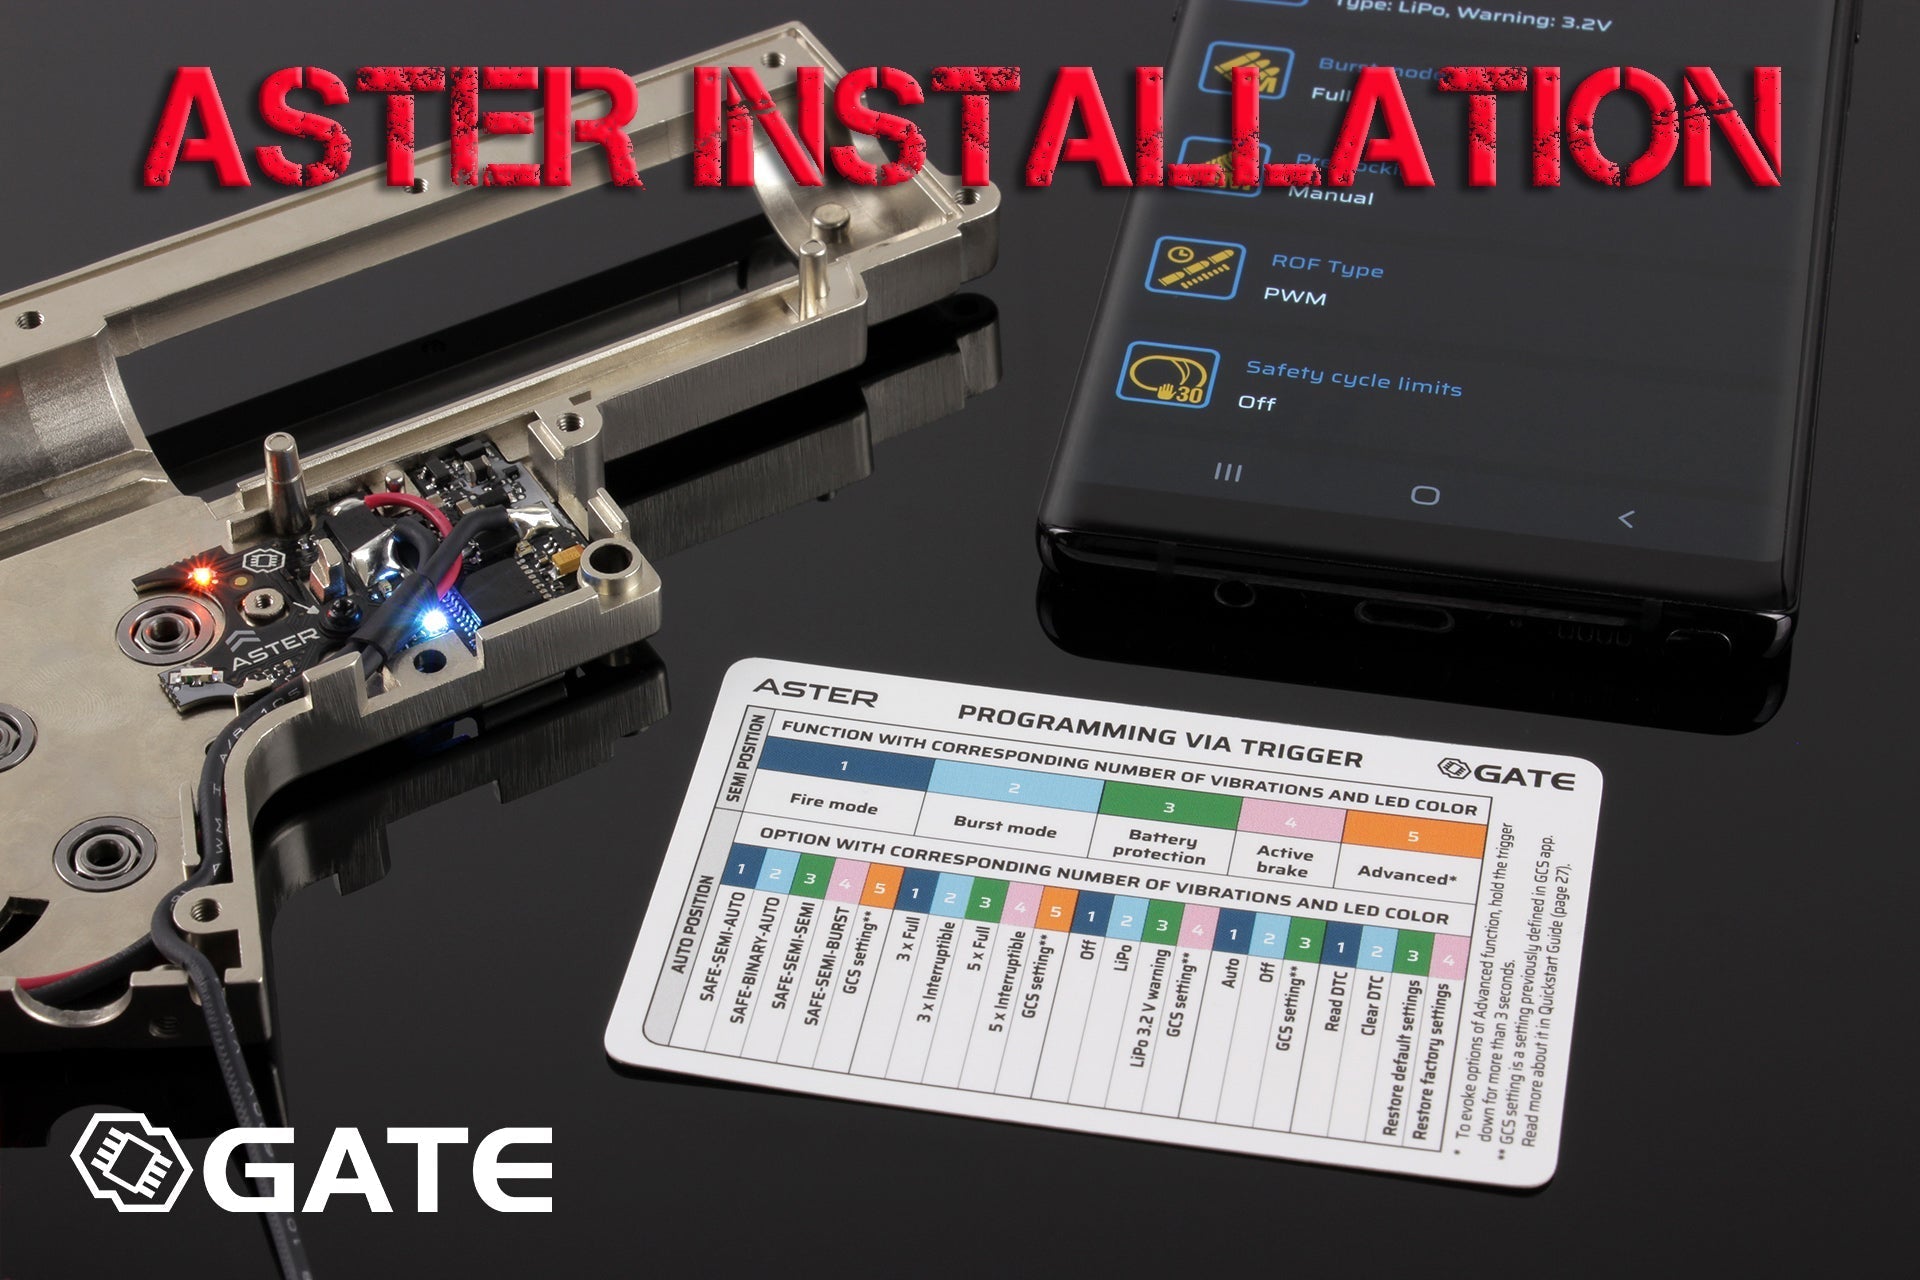

https://azraelsarmoury.com/collections/a-recent-collection/products/gate-titan-v3-mosfet
Step 1 - Disassemble and clean
Open up the gearbox and take out all the components including the trigger block assembly. You should also clean it out using a solvent. I use a rag and brush to make sure I clean out all the old grease.

Step 2 - The trigger
In its natural form, there is too much play in the trigger therefor you need to insert a sticky back plastic part into the rear trigger part as shown below. If one of those isnt enough to remove the play up and down, you may have to insert another one. Put the trigger together, it should slide and move well but have no up and down wobble.


You also need to install the trigger sticker for the optical sensor that reads how far the trigger is pulled. Clean the surface with isopropyl alcohol and then stick down as shown below.

Step 3 - Mode selector plate
In the AK range from Azraels Armoury, you need to trim back the inside of the plate as shown below. This is to ensure in the semi mode, the light from the circuit is not blocked by the plastic. I used a dremel to cut it back 5mm. You then stick the supplied sticker to the outside of the plate as per below.


Step 4 - Solder on mag wires
You will need to solder on mag wires but it is very simple. I attach red and black wires with plenty of length that are cut down later. Before attempting to solder on to those solder pads, the circuit board has a coating on it so you need to scrape that back on those terminals first. I used a small flat blade screwdriver to lightly scrape them. Make sure you use a brush to brush away any scrapings on the board. Also note which way the wires are facing when soldering them on as per below. They must go off towards the front.


Step 5 - Feed the cables and fix down
Now you need to feed all the cables through the gap in the gearbox as per below.

There is a notch in the circuit board where the cables go. I bent the wires at 90 degrees so they fit well. Push the circuit board down in place carefully. It should now be in there sitting flush with the gearbox housing.

You now need to screw it down using the original screw and some of the supplied washers. There are a few different thicknesses provided and that is to ensure that the screw, when screwed down, does not protrude too far out the back which would impede the mode select plate.

As you can see below, the end of the screw should be flush with the outside.

Before fully screwing down, make sure the alignment of the gear sensor is as per below. It should be right near the outside of the teeth, not right against the gear but when you turn the gear, the teeth should get in the way of that sensor.

Step 6 - Reassemble gearbox
As per normal gearbox assembly, shim the gears and put them into position. When you grease up the gears, use sparingly! A gearbox does not need copious amounts of grease. Most technicians use a hobby brush to brush the grease on. If you paste it on, the grease will get in the way of the optic sensors and it will not function correctly.

Insert the trigger and other internals and then line up the pins from the upper Titan circuit board and press down. Install the other half of the gearbox housing.

Connect up the mag terminal wires as shown below. The negative is at the very front.

Step 7 - Cable management
If you are rear wiring this, you will need to extend the wires about 110mm (measure tho!). Just use some of the wires from your old wiring harness. If you are using front wired, then you don't need to extend the wires.. Make sure you have the wires held by the plate on top of the gearbox.

You are done! Now you can enjoy the crazy amount of customisations available with the Titan Mosfet!