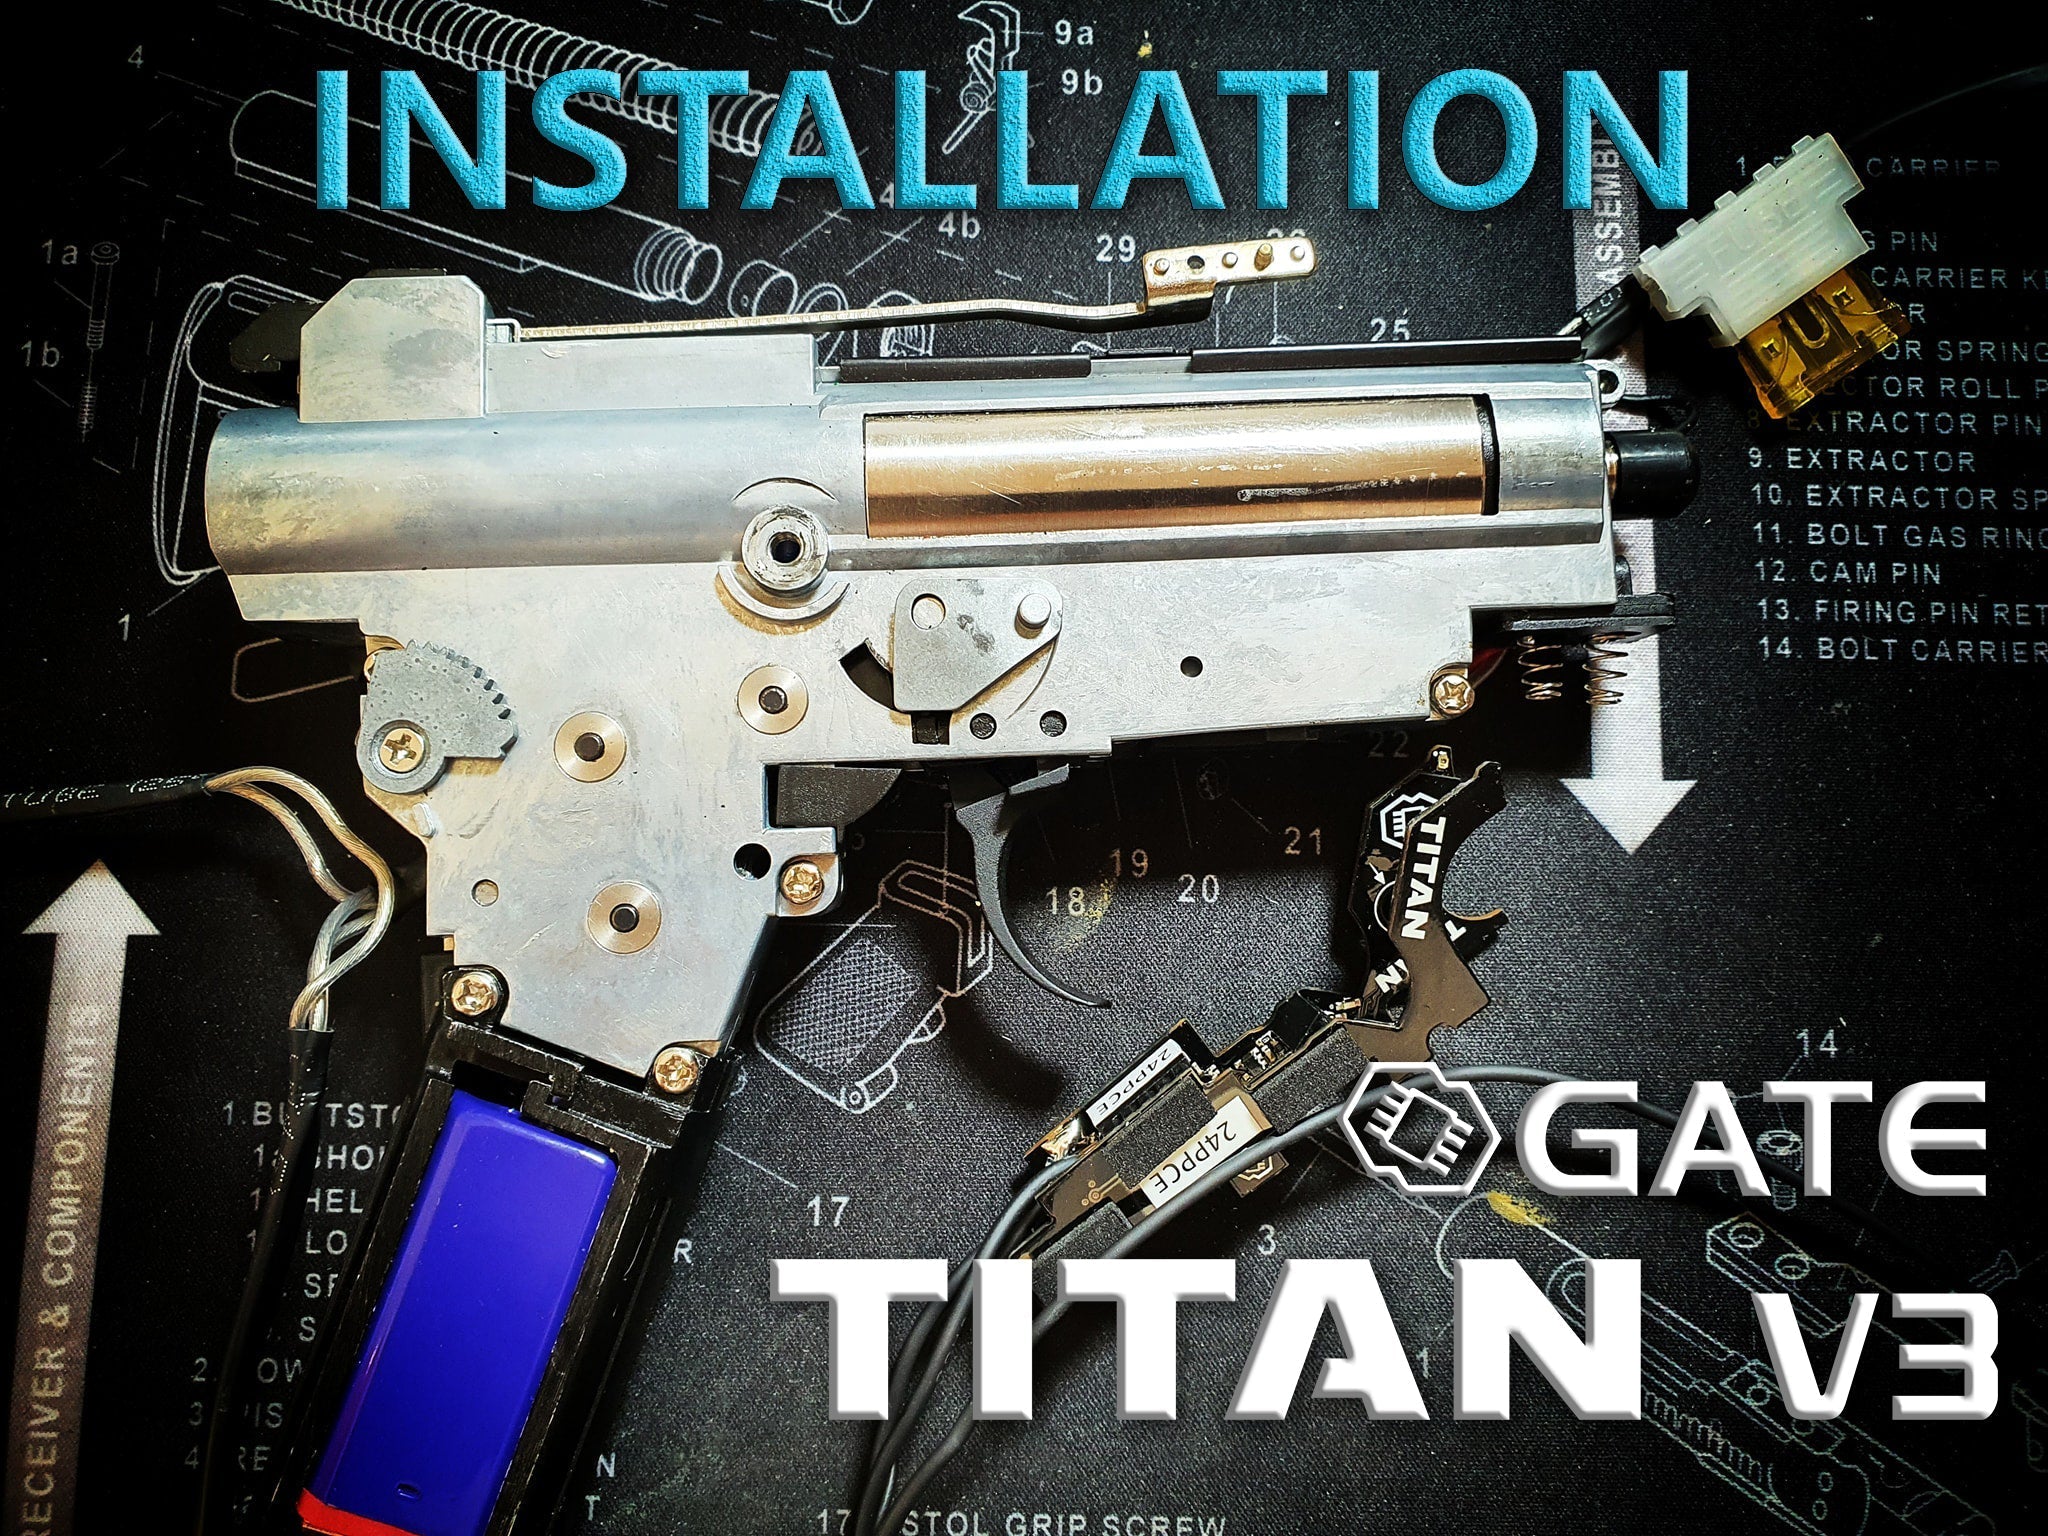
https://azraelsarmoury.com/collections/mosfets/products/gate-aster-mosfet
Step 1 - Dismantle and clean
When installing any mosfet, it is important that the gearbox is clean of any grease. I use isopropyl aclohol to clean the inside with a brush and a rag. Remove all components from the gearbox leaving just the shell.

Step 2 - Solder on mag wires
Solder on the mag wires using a thin gauge wire using the terminals shown below. Before attempting to solder, you will need to use a flat blade screwdriver or razer to scrape the terminal shown below as there is a conformal coating on the board that will stop you being able to solder.


Step 3 - Install mosfet
Make sure it is aligned well inside as shown below and screw down in the following order; Aster board, plastic washer, metal washer then screw with a dab of lock tight.

Route the wires through the gearbox as you normally would. I glue down the wires where the pass where the motor shaft passes through so the wires do not get caught or stripped.
Clean the other gearbox housing side and place the sticker carefully leaving 1mm in between the hole and the sticker as below. With the SilverEdge gearbox, it has a spine in the way of where the sticker goes, I used a dremel to remove that first and clean well with alcohol.


After that, complete the build of the gearbox.
Step 4 - Mag block
Dismantle the mag block (2 screws) and unsolder the original wires. Place the bottom section where it would go and cut the wires a bit longer than where the contacts would go.

Strip back the wires 3mm and solder onto the contacts, place in the mag contact block and assemble it.

Screw the gearbox all together and you have completed the build! You will need to calibrate the trigger and selector in the Gate control station app.
Enjoy!!


