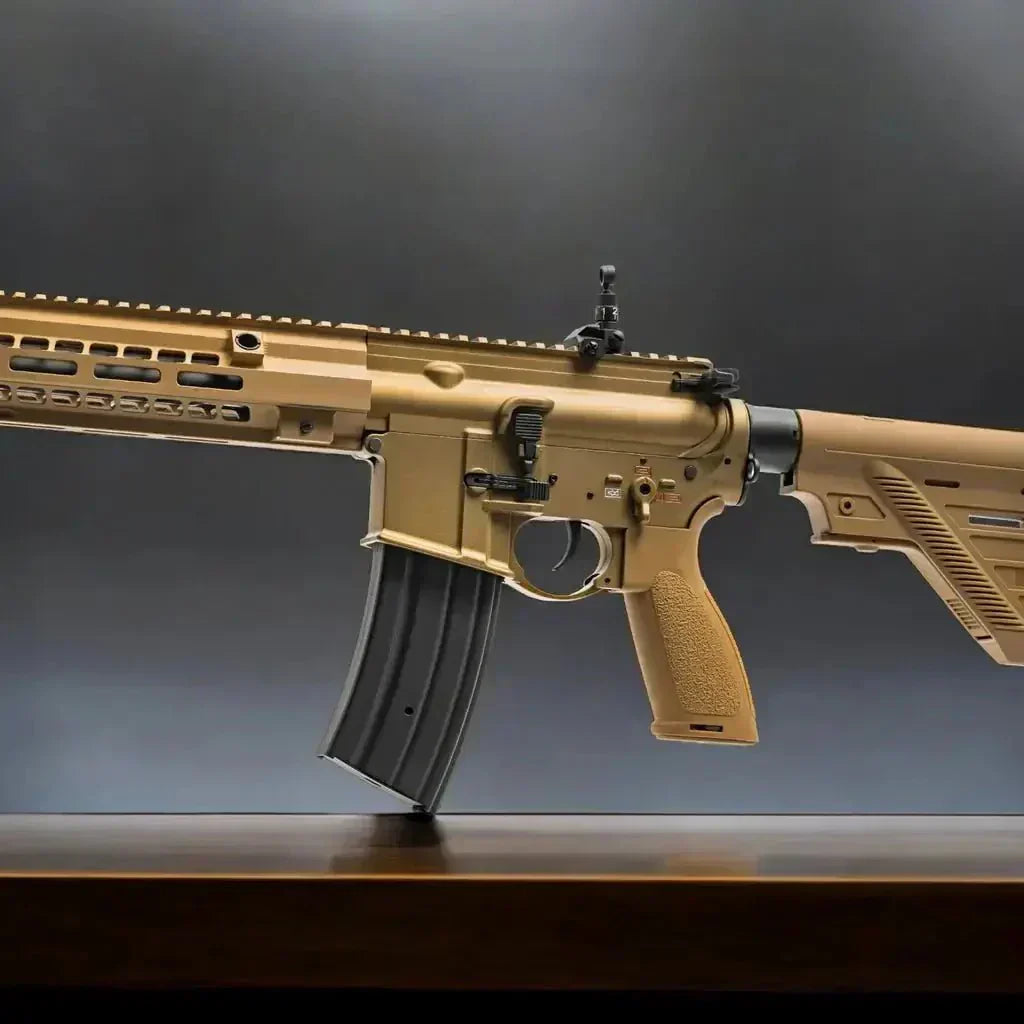
To achieve a high-performing and reliable gel blaster, using the highest quality parts and attention to detail is crucial. The essential parts needed for building a reliable gearbox include:
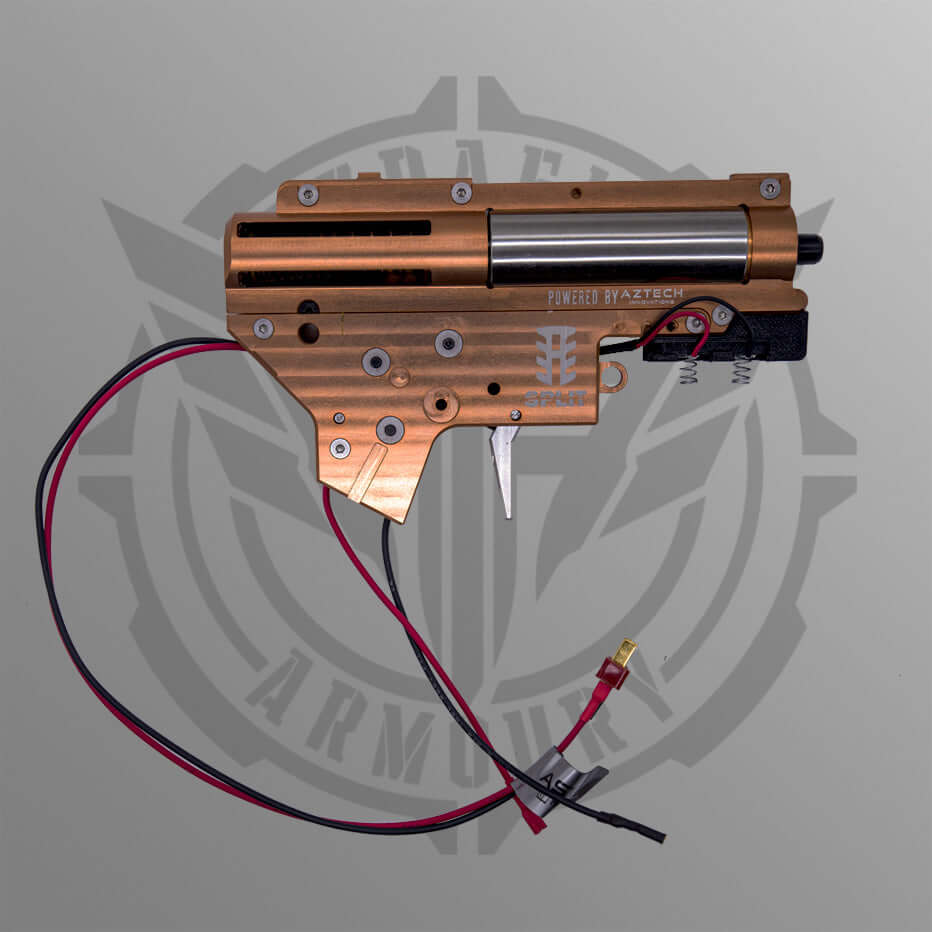
- Aztech 7075 Alloy gearbox
- Cylinder
- Aztech APACHE
- Jericho Spring
- Aztech Bushes
- Aztech complete piston
- Leviathan optical mosfet
- Aztech spring retainer
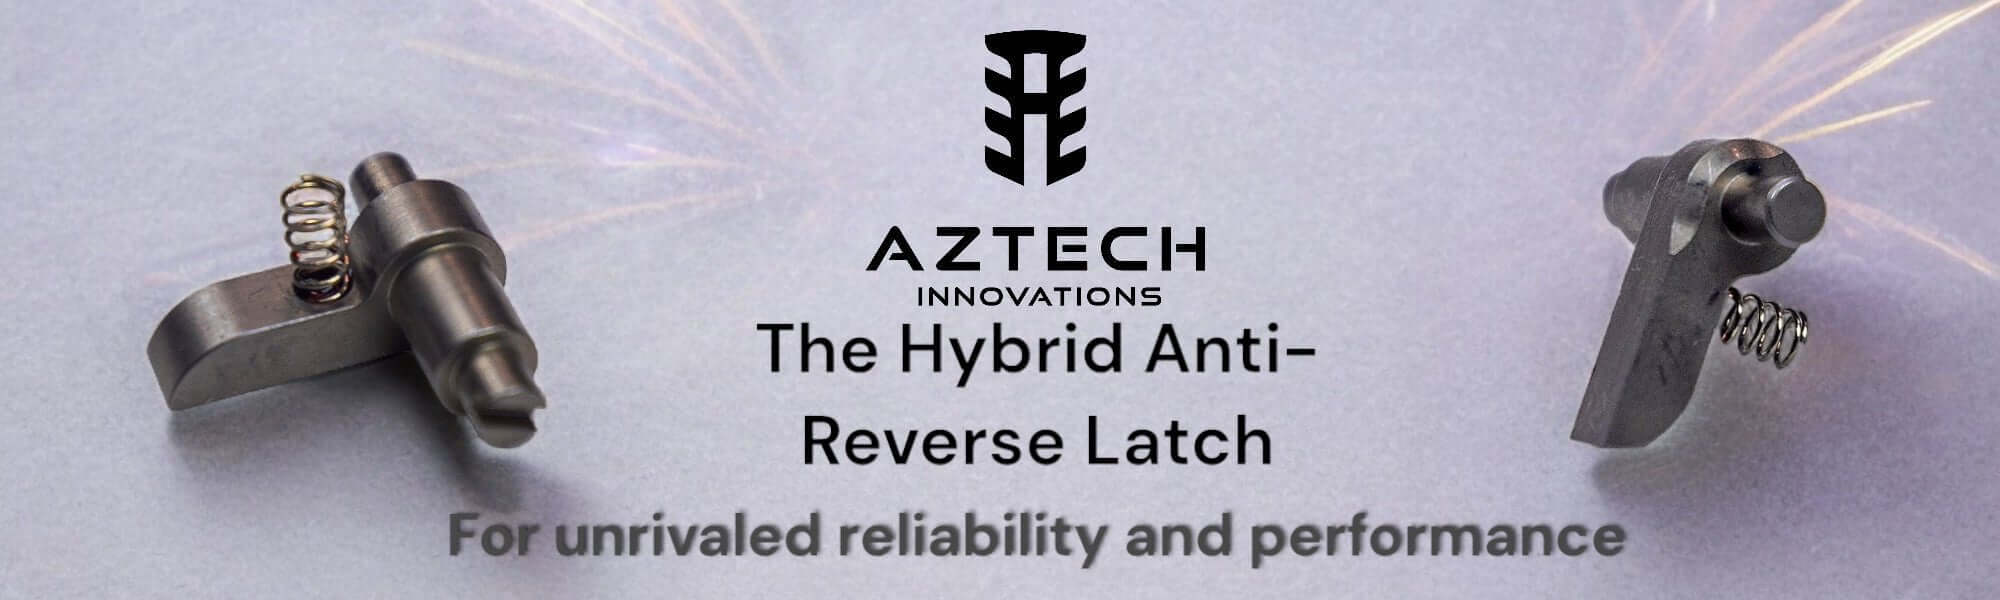
- Aztech hybrid anti-reverse latch
- Aztech Shim kit
- SHS gears
- Aztech Adjustable T-Piece
Additional consumables like grease, oil, superglue, and JB Weld are also required. For a complete build, you can follow a detailed YouTube guide.
Step-by-Step Instructions:
- Bushing Installation: Glue anti-rotation bushes with JB Weld to prevent rotation and potential damage to the gearbox shell.
- Gear Installation and Shimming: Short stroke the sector gear, then shim in order: pinion to bevel, bevel to spur, spur to sector, sector to piston. Install the anti-reverse latch to engage the bevel gear.
- Leviathan Mosfet Installation: Ensure proper alignment and clearance, secure with blue Loctite, and follow the guide for trigger and selector plate installation.
- APACHE and T-Piece: Lubricate and assemble the APACHE, secure with blue Loctite, adjust the T-piece for optimal sealing.
- Piston Assembly and Installation: Assemble the piston, adjust the Angle Of Engagement (AOE), and secure with red Loctite.
- Spring Retainer & Spring: Loctite the spring retainer, ensure free movement, and install the spring with the correct orientation.
- Barrel Installation: Scuff and glue the barrel into the T-piece with epoxy.
Parts Needed
- Aztech 7075 Alloy gearbox
- Cylinder
- Aztech APACHE
- Jericho Spring
- Aztech Bushes
- Aztech complete piston
- Leviathan optical mosfet
- Aztech spring retainer
- Aztech hybrid anti-reverse latch
- Aztech Shim kit
- SHS gears
- Aztech Adjustable T-Piece recommended
Building a reliable gearbox is not that difficult. You just need to remember a few tips which we will go through here when building your gearbox. You will Also need a few other consumables like grease, oil, superglue and JB Weld. You can follow a complete build on the following Youtube link:
https://www.youtube.com/watch?v=uHNtUknDd1w&t=1319s
Detailed Installation
Step 1 - Bushing installation
The anti-rotation bushes have made a big impact here. Previously you would need to ensure perfect glueing in of the bushes to ensure they do not rotate otherwise that will destroy your gearbox shell. We glue these in place to ensure the bushings do not move at all. We use JB Weld sparingly here.
Step 2 - Gear installation and shimming
First up is short stroke your sector gear depending on voluming (barrel porting length), motor RPM and gear ratio to avoid Pre-Mature Engagement (PME/timing).
Next up is shimming which is done in the following order;
- Pinion to bevel
- Bevel to spur
- Spur to sector
- Sector to piston
Install the anti reverse latch ensuring that it positively engages on the bevel gear.
Step 3 - Leviathan Mosfet Installation
- Next we install the Leviathan optical mosfet. This device has so many benefits assocatied with it which you can read up on the product page.
- Make sure the fitment and alignment is correct with the sector bushing and that board is clear of the gearbox so that it does not contact the solder points on the board which could cause arcing.
- Also loctite the fixing screw in using blue loctite.
- Install the trigger and selector plate as per the instructions in the leviathan guidebook.
- With the terminals, the positive goes to the back for any v2 style setup
Step 4 - APACHE and T-Piece
Pull apart the APACHE and ensure that it is lubricated sufficiently using 1000CST or 80 weight silicone oil. Blue loctite the front cap back on to ensure it doesnt un-screw. Scuff up the tip of the APACHE nozzle with 180 grit sandpaper. Scuff up the inside of the rubber with a mini round file. Install 3 orings and the APACHE rubber tip using a generous amount of 480 loctite superglue ensuring that there is no run off.
Adjust the tpiece all the way in and apply blue loctite to the thread. Adjust it out 1 full rotation forward and leave to set. You can adjust this as needed to assure optimal sealing and no double feeding once assembled.
Step 5 - Piston Assembly and Installation
- Assemble the piston by JB welding the piston rack into the piston body
- Work out the Angle Of Engagement (AOE) by screwing on the piston head and placing into the cylinder with APACHE in the front.
- Install the assembly into the gearbox with the sector gear only. Manually cycle the gear so the piston is all the way forward and rotate the sector gear so that it begins to pickup the piston rack with the first tooth (pickup tooth). You need to ensure that the pickup tooth engages with the sector gear at close to top dead center. If it is not, you need to adjust the piston head spacers to ensure that it does.
- Also be mindful that you do not want the second tooth on the rack to hit the sector gear but you do still want to retain enough of it so that there is 2 points of contact between sector gear and the piston rack.
- Once you have adjusted for AOE correction, you want to screw the piston head to the piston body using red loctite on the screw.
Step 6 - Spring Retainer & Spring
- Loctite the spring retainer together no mater which one is used to ensure that under high vibration it will not rattle apart. Assemble the spring retainer ensuring the bearing moves free then use red loctite on the thread.
- Install main spring of your choice bearing in mind that the end that is uneven in coil separation goes to the back with the even end at the front.
Step 7 - Barrel Installation
- Lightly scuff the end of the barrel that will go into the t-piece
- Use a 2 part epoxy to glue the barrel into the t-piece and leave to set
Watching our video's on youtube will certainly help you be able to build your own gearbox and using the parts listed above will make sure you will have a solid and reliable build!