
Builds that suit you and your play style
This is an introductory discussion to help you choose which type of custom blaster is suitable for you and your playstyle/play type and or field you might regularly attend. It is important to note that most fields have an FPS (Feet per second) limit on their field for insurance purposes and your blaster of choice must fall within their limitations. We recommend contacting your local field you play and asking what their legal limits are before making a purchase of any kind.
Which type of player are you?
It is critical to note and be honest with yourself and to your tech if you like to spray and prey (send lots of gels at someone from a distance or close) or if you like to run and gun (likes to get in closer range and fire 1 or 2 shots to take out an enemy) as either of these options will depend on how much you get out of your blaster and how your gel balling experience is experienced as to what type of AEG suits you. The last thing we want is for you to spend a lot on a full custom blaster that is high maintenance (high rof and higher fps) that requires mechanical sympathy only to be thrashed for 10k shots at a field for the day. The more you hold down the trigger for longer periods of time in full auto the hotter springs get, motors get, anti-reverse latch springs get, and the hotter return springs get and the more ware and tear you place on your custom gel blaster. This type of gameplay it is recommended that you run around 20rps to 25rps to increase reliability of your blaster and your experience. If you shoot around 1k-5k shots per game, you most definitely could go something faster 30rps to 40rps, if you like to pick your shots more and only give random bursts of fire here and there but mainly play semi or binary. Playstyles like this usually allow for a higher performance blasters for longer longevity. Think of all of this like a performance car vs a corolla. If you thrash it then it will require more repairs or maintenance the rules of mechanics still apply whether it is a 2k blaster or completely stock.
The Typical play styles
Conservative trigger
Usually does not fire too much and finds joy in shooting as least as possible and maximising kills. Players like this are usually very experienced and many types of builds suit this mentality of gameplay. Feel free to select any type of blaster build you would like to run if this is the type of player you are. Mechanical sympathy comes naturally to these players.
New Player
New players generally have quite a bit of adrenalin and tend to fire a lot of gels usually in the form of full auto and or bursts with little amount of semi. For new players it is recommended to have a retune done or a stage 1 until you get the hang of everything from how magazines work to batteries and growing gels. If new players want a stage 3 build it is recommended to keep the rate of fire to under 25 RPS and feet per second to around 310 to 320FPS.
The Speed Baller
Usually plays comps that are locked to semi-automatic fire only. When players like this go and play regular skirmish or CQB (Close quarter combat) they generally do not fire much avg 500-2000 shots a session therefore running really high rates of fire or really responsive blasters become reliable in the hands of players like this. They typically like to run around the field and get angles on opponents and fire once or twice to land a gel with positioning being at the fore front of their engagement.
The Heavy Trigger Finger
Usually likes to fire a lot of gels and generally in full auto and lots of bursts and rarely uses semi. Usually plays CQB or skirmish and averages between 2k-10k shots in a session. Players like this usually want 40rps for the brrrrt cannon but these types of builds are not recommended to players like this as maintenance and or mechanical failure become more apparent or regular. 20rps to 25rps is more ideal for these types of players to ensure money you spent on your blaster is of well use and well spent to everyone’s satisfaction. Holding corners and holding positions on fields and sending clouds at the enemy allowing others to move in and around the objective is generally how these players play which is critical but also requires a critical style of build to avoid frustration and ensure enjoyment.
Retune/Tier 1,2 and 3 AEG (Automatic Electric Gun)
Within the category of AEG there are 5 different stages of blaster.
[Stock] is unmodified blaster running completely standard internals from factory
[Retune] Is a stock blaster that is rebuilt by a technician in example the blaster is usually re shimmed, angle of engagement corrected (AOE), gearbox radiused (rounding off the corners on a cast gearbox or non-billet to help prevent or prolong cracking of the gearbox), Short stroking to help avoid pre mature engagement or PME, Correct the volume of the cylinder to barrel ratio closer to 1.8:1 (improves accuracy), Pinion to bevel alignment to relief resistance on motor and finally make sure everything has been put back together with Loctite. Generally, this allows the blaster to go up in one (1) size of spring rating i.e., from an m100 to an m110 (M being used for meters per second) but is limited to gearbox strength, gears and electronics. This is the most ideal upgrade and is rather cheap for the pay off that it gives to your gel balling experience.
Tier 1/Stage 1
Tier 1 usually consists of everything you get with a retune (shimming, AOE, PME, radius etc.) But also adds upgrades for the compression parts. This includes but is not limited to APACHE (Aztech tappet less cylinder head) or an upgraded cylinder head, nozzle, return spring, tappet plate, cylinder, piston, t piece and barrel. Please note it is highly recommended to use an Aztech adjustable CNC t piece for best results from compression to feeding and reliability.
Tier 2/Stage 2
As above, tier 2 or stage 2 consists of everything you get from a retune and a tier 1/ stage1 but adds gears, usually SHS or other non-factory gears generally made from carbon steel to upgrade not only the material from cast(stock) but to also increase the rate of fire (ROF) and reliability to help prevent stripping of gears. Bushings or bearings are also replaced in a stage 2 which also increase reliability compared to standard factory bushings or bearings. There are many types of bearings and bushings that can be used depending on your ROF requirements and or FPS requirements it is noted to consult an expert when selecting which ones suit your build requirements. Stage 2 also includes a CNC gearbox usually a V2 gearbox (m4 suitable) from Aztech Scythe or Retroarms. A Billet 7075 CNC gearbox allows for much higher ROF and FPS reliably without cracking a standard metal cast gearbox.
Tier 3/Stage 3
As above stage 3 includes everything a stage 2 includes but from here is where no stone is left unturned, and the blaster really becomes a standout. Not only does a stage 3 have everything the previous upgrades have but it also includes a motor (usually a brushless warhead CNC motor or a high-end Brushed motor) and a mosfet (electronics to protect the wiring and batteries of your blaster) mosfets range from cheap pico external style mosfets all the way to Bluetooth and programmable via an app on your phone to control how your blaster shoots but on our stage 3 builds it usually consists of a Bluetooth leviathan v2 optical mosfet. Both of these help your blaster achieve required Rounds per second (RPS) or rate of fire (ROF) and feet per second (FPS) reliably and safely.
HPA (High pressure air)
High pressure air or HPA is a type of custom build that uses high pressure air to fire i.e. a tank similar to paintball style. There are 2 ways of going about this. The first and most common way is to run a line with a backpack to wear the tank on your back, the other way is to attach the tank to your grip via a Chimera grip or SKP style grip which houses a regulator to allow for pressure control of your build. HPA has adjustable FPS and ROF but also requires a special compressor to fill the tanks to 4000 psi or you can pay to have a tech shop fill your tank for you which usually is around 10 to 20 dollars per tank.
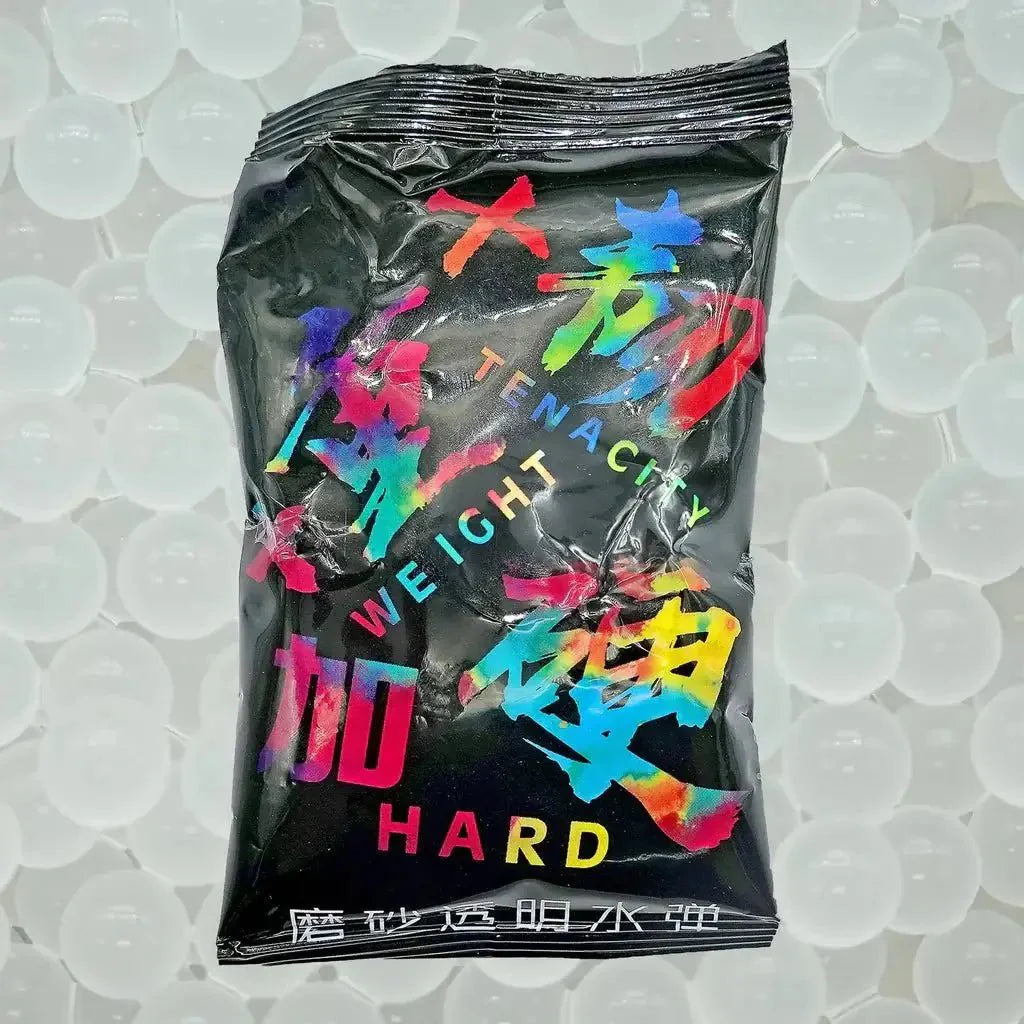
How To Grow Gels/Types of gels
Different types of gels require different growing times. It is important to note that sometimes water in certain areas can cause abnormal grow sizes on gels and inconsistencies. The best result is to buy water from a supermarket and follow the grow instructions on the packet. Some peoples high rate of fire blasters or barrel diameters they are running require control grows (which is usually for 2.5 hrs to 3hrs) for better feeding and better consistent fps. General rule of thumb is you can never have too much water (if your gels soak up all the water before 4 hours then you did not use enough water) and to grow your gels for a minimum of 4 hours to achieve maximum growth as sometimes less than this can result in feeding issues because the magazine can’t pick up the gels to feed them up into your blaster. After which drain all the water out and place gels in an airtight container for storage where they will last months but are best used within 24-48 hrs. Also, once you go something like a tappet less APACHE the nozzle velocity requires very hard gels. Ultra elites and ihobby are super hard gels a lot harder than others (generally good for gas powered blasters), with others like aka gels being not quite as hard but more consistent but still very hard. Lots of newcomers make the mistake of getting a high-end blaster and running soft gels causing a lot of smashes and misfires. Please consult your technician as to what gels may suit your blaster or experiment with different gels as everyone’s opinion on what’s best does differ and batches also differ.
What is a hopup?
A hop up if your new to the sport is something you will hear people talking about quite regularly and is single handily the best and most important upgrade you can add to you gel blaster. Gel blasters fire gel balls which are 95% water, 5% polymer and round, because they are round gravity forces the gel ball into the ground around that 20 meter mark. If you attach a hop up, what it does is almost double your range and tighten up the grouping of your gel blaster significantly. The more you adjust your hop up down the more back spin it puts on the gel making it fly further resisting gravity, this is called the magnus effect. In some environments like CQB (close quarter combat) hop ups might not be used but it is usually always recommended to use one as who would not like their gel blaster to shoot 40m instead of 20 for the sake of 1 upgrade. Hop ups range from 3d printed 20 dollars or so to metal outers with mould injected inners all the way to full CNC style hop ups with all kinds of shapes and sizes to suit your taste. Some adjust via a grub screw and others are tool less adjust like the Aztech Hellfire or Muzzletek to allow for seamless fitment and ease of tuning on field on the fly without a 1.5mm Allen key.
Batteries and Chargers
Batteries and chargers are the single most important aspects to a fully built custom gel blaster. The most common used battery is a LIPO (we recommend looking them up to learn further about them). Li-po batteries have cells which are usually between 2 and 3 cells. 2s being 7.4v and 3s being 11.1v with 7.4v or 2s being the most recommended for reliability especially on stock standard blasters and 3s or 11.1v giving a much higher rate of fire but also increases servicing and stress on all internal parts. Depending on the blaster, parts and build specs 11.1v or 3s can be completely fine to run but please consult your technician if it is safe to do so for warranty purposes. Li-po batteries generally require specific treatment in terms of charging and storing them. Balance chargers are crucial to the longevity of these batteries. Chargers like a B3 (cheap charger) or they flash red and green with usually 3 lights which say balance charger on them do not balance charge the cells 1 mah (milliampere-hour) correctly. They charge one cell at a time rather than 1 mah on each cell
at a time therefore creating an unbalanced battery or unstable battery which can cause your blaster to malfunction and or a fire hazard. At minimum is crucial to use a proper balance charger that allows you to check cells and program settings for charging. Once you go a custom blaster the most common failure we see is low quality batteries being used on high end blasters causing problems as they require a good source of power for reliability and performance. Please talk to your technician as to what batteries will suit your needs and your blaster for it to run correctly without causing damage to your blaster. Please note we DO NOT recommend a 4s or 14v battery in any circumstance as it is not needed or required at all and WILL cause unnecessary damage to your gel blaster. Achieving any ROF can be done without 14v or 4s with a competent technician. It is also important to note that some smaller batteries say 2000 MAH on them but are really 300 MAH or 600 MAH. These batteries are usually very cheap and are not to the value they claim and generally do not work on high end custom gel blasters and usually come with blasters.